Uncategorized
How to Fit Custom Seat Covers Right
May
A custom seat cover should look built into the cabin, not stretched over it like an afterthought. If you are searching for how to fit custom seat covers, the goal is not just getting them on the seats. The goal is a clean, tight finish that protects the original upholstery, keeps all seat functions working, and gives the interior a premium factory-style look.
That matters even more in vehicles that deal with daily heat, dust, family use, work use, or long commutes. A loose install can wrinkle fast, shift under passengers, block seat controls, and wear out sooner than it should. A proper install takes a little patience, but the result is worth it.
Before you fit custom seat covers, check the basics
The first step is confirming that the covers are actually made for your exact vehicle model, trim, and seat configuration. This sounds obvious, but it is where many bad installs start. A cover designed for a standard manual seat will not sit correctly on a powered seat with side controls, and rear seats with split-fold sections need the right cut and panel layout.
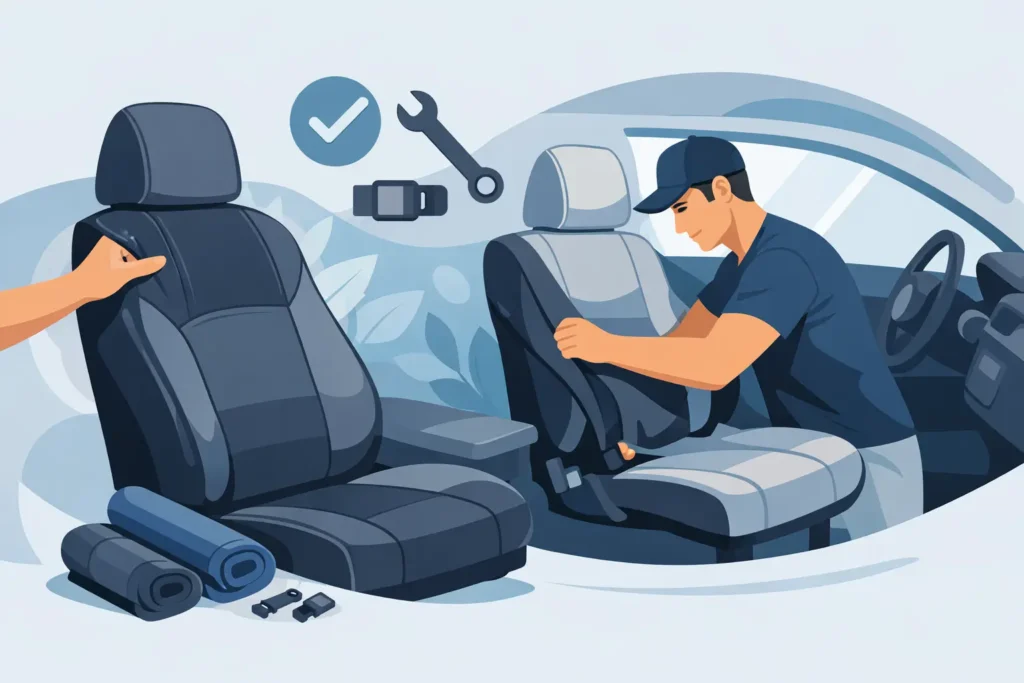
Take a minute to identify each piece before fitting anything. Most custom sets include separate parts for the headrests, backrests, seat bases, and rear bench sections. Some also include armrest covers and center console pieces. Lay everything out in order so you are not forcing the wrong panel onto the wrong seat.
You should also inspect the seats themselves. Remove dust, crumbs, and any objects from the seat gaps. Wipe the upholstery down so the cover sits flat against a clean surface. If the original seats are damp from cleaning, let them dry completely first. Trapping moisture underneath is never a good idea, especially in warm climates.
How to fit custom seat covers without damaging the finish
Start with the front seats because they are usually easier to understand than the rear bench. Move the seat backward and forward to create working space, and raise the headrest if needed. If the headrest can be removed, take it off and set it aside.
Slide the backrest cover over the top first. Do not pull aggressively from one side. Work it down evenly, left to right, so the seams follow the seat shape. On a well-made custom cover, the stitching should line up with the seat contours. If it looks twisted, stop and reposition it before tightening anything.
Once the backrest cover is in place, secure the straps or hooks underneath and behind the seat. This is where many installers rush. The cover may look good from the front, but if the lower anchor points are not tightened properly, it will loosen after a few drives. Pull the straps firm, but not so tight that the material distorts or the seams strain.
Next, fit the seat base cover. Tuck the front and side edges in gradually, then feed any straps through the gap between the backrest and base. Secure them underneath the seat frame according to the design. Keep the material smooth as you go. If you tighten one side too early, the other side may bunch up.
The final step for the front seat is the headrest. Slide the cover over carefully and align the seams with the shape of the headrest. If the fit is correct, it should look snug without needing excessive force.
The rear seat is where fitment usually goes wrong
Rear seats often take longer because there are more variations. Split-fold seats, fixed benches, fold-down armrests, child-seat anchor access, and hidden locking points all affect the fit. This is the part of how to fit custom seat covers that requires the most attention.
If the rear headrests are removable, take them off first. Fit the backrest sections one at a time, matching each panel to the correct seat portion. For split seats, make sure the cut lines align with the folding sections before securing anything. If the cover bridges across a split, the seat may not fold properly later.
Then install the seat base cover. Some rear seat bases lift out, while others stay fixed. If your vehicle allows the base to be removed, installation is often cleaner because you can wrap and secure the cover more precisely. If it stays in place, work carefully around the edges and anchor points.
Openings for seat belts, ISOFIX access, armrests, and latch points should remain clear. Never bury these areas under the material just to make the surface look smoother. A good custom finish is not only about appearance. It also needs to respect the practical function of the seat.
Airbags, seat controls, and safety features are not optional details
Modern vehicles are full of built-in seat features, and the cover has to work around them correctly. Side airbags are the biggest concern. If the seat has side airbags, use only covers designed and stitched for airbag compatibility. Forcing a generic or incorrect cover onto that seat is a poor trade-off and not worth the risk.
The same applies to electric seat controls, lumbar switches, rear entertainment fittings, and seatbelt buckles. Every opening should sit where it is meant to sit. If you are stretching material over a control panel or cutting random holes to make the cover fit, the product is either wrong for the seat or being installed incorrectly.
Heated and ventilated seats also need some thought. Many custom covers can work with these features, but the material and fitment matter. Thick padding may reduce performance. If comfort technology is a priority in your vehicle, choose covers designed with that in mind.
Getting that tight, premium look
The difference between an average install and a premium one is in the finishing. After all covers are attached, go back over every seat and smooth the surfaces with your hands. Press out trapped air, straighten any seam lines, and retighten straps where needed.
Minor wrinkles are normal immediately after installation, especially with leather-style materials. Many settle naturally after a few days of use as the material relaxes into shape. What should not remain are large folds, twisted seams, or loose corners. Those are signs that the panel is not seated properly.
Temperature can also affect the result. Warm material is easier to shape than stiff, cold material. If you are fitting covers in a cooler environment, letting them sit in a warm area first can make installation easier. In hot conditions, be careful not to over-stretch the material just because it feels more flexible.
Common mistakes people make when fitting custom seat covers
The most common problem is assuming custom-fit means effortless. Even a vehicle-specific set needs proper alignment and fastening. Another frequent mistake is installing the base before the backrest, which can make it harder to pull the upper section into place correctly.
People also tend to ignore the seat’s moving parts. They fit the cover, see that it looks fine, and forget to test the recline lever, slide movement, armrest, fold function, or seat belt access. That check should happen before the job is considered finished.
There is also a point where forcing the material becomes counterproductive. If one section simply refuses to line up, stop and compare it with the opposite side or another panel from the set. A mismatched part, wrong orientation, or trim variation may be the real issue.
DIY or professional fitting?
It depends on the vehicle, the cover design, and the finish you expect. A straightforward custom set for a standard sedan can often be installed at home with patience. SUVs, luxury interiors, powered seats, and multi-piece rear cabins can be more demanding.
If you want a showroom-style result, professional fitting usually makes sense. An experienced upholstery team knows how to tension the material evenly, route straps cleanly, and protect every function of the seat. That is especially valuable when you are investing in premium leather-style covers and want the cabin to feel upgraded, not merely covered.
At Sana Auto Services, that is exactly the difference – custom interior work that looks tailored to the vehicle, not improvised in a parking lot. For drivers who care about fit, finish, and durability, expert installation saves time and avoids costly mistakes.
Final checks after installation
Before you drive, sit in every seat and test the feel. Make sure the material does not shift under weight and that all buckles, folding sections, and controls are easy to reach. Refit the headrests properly and confirm nothing obstructs their movement.
Then give the covers a short settling period. After a day or two, inspect them again and retighten any straps if needed. A quick adjustment at this stage can make the final fit look even cleaner.
When custom seat covers are fitted properly, they do more than protect upholstery. They sharpen the cabin, improve daily comfort, and give the interior the tailored finish your vehicle should have had from day one. If you want that result, take the time to fit them right or book the job with a workshop that treats interior work like a craft.